
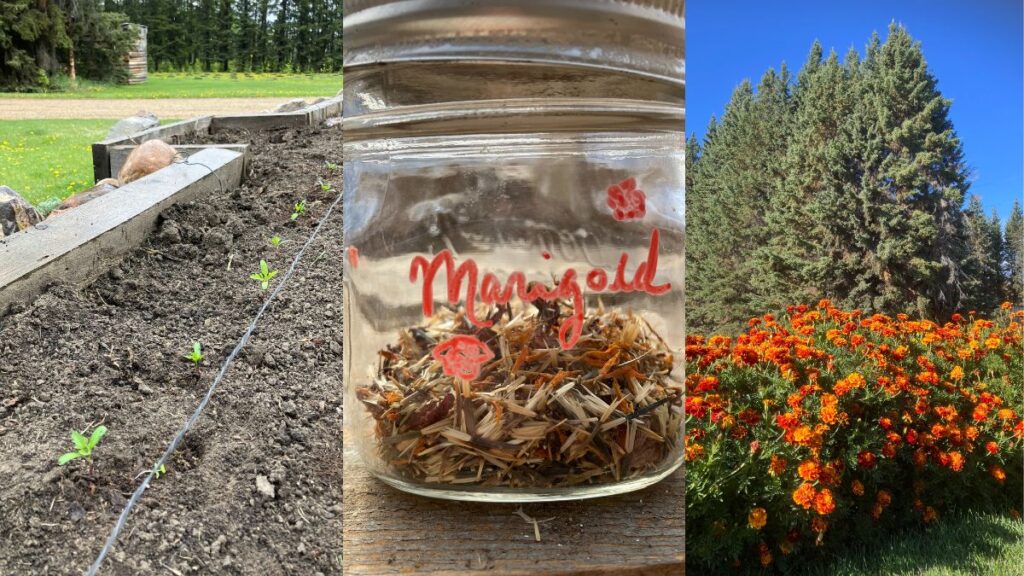
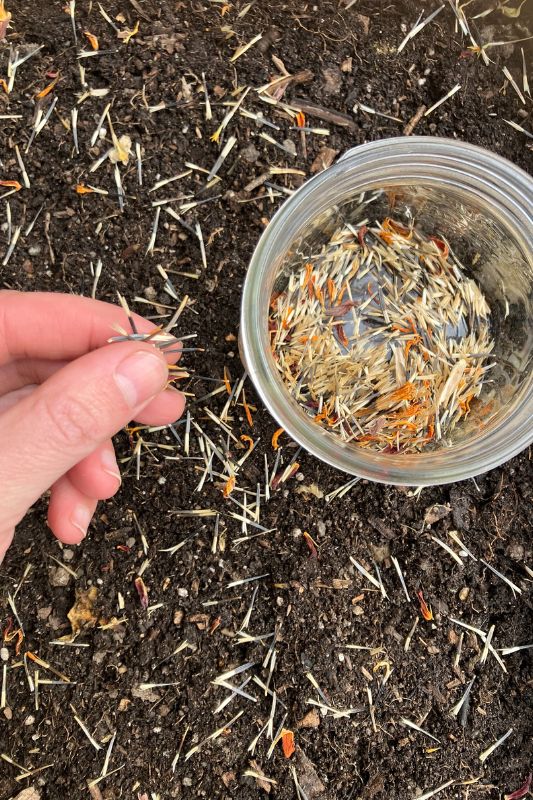
Ok, the title is a little click-baity. The first year I did this project I did have to buy marigold seeds. A packet from McKenzie seeds currently costs $2.79 Cnd and depending on the length of the border you want to create you may have to purchase four or more seed packets. But every year after the first, I saved my marigold seeds and was able to have my colourful border up and running for $0.00. You may also need to purchase seeds trays and potting soil, but they are items I already have on hand.
Why plant marigolds?
Marigolds are cheap, cheerful, and tend to be happy generalists that do well in a variety of soils and climates. They’re also known to deter garden pests and some believe their scent deters deer and rabbits. I have to admit, I haven’t noticed a deer-deterrent effect myself.
Some people find their scent over powering, but I find they have a botanical, not overly sweet perfume that I enjoy.
What variety of marigold should I grow?
There are over 50 different varieties of marigolds, but for this project I used a classic marigold similar to this one. There are also the big poofy “Crackerjack” varieties of marigolds, but those might grow too tall for a garden border. They would look wonderful running along a white picket fence line however.
How to make a marigold border
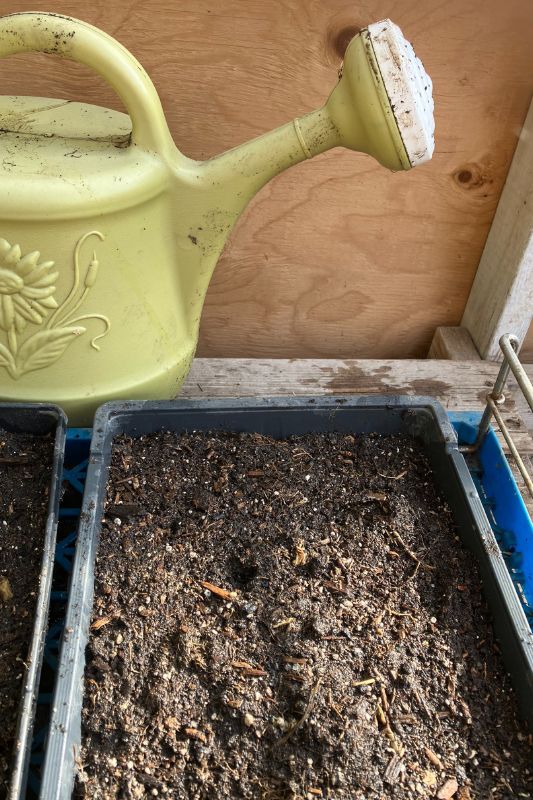
Step #1 – Gather your seed trays, a bowl or bucket, and potting soil. I used the 1020 trays the previous owner of our property left behind (similar item linked here). I think they are meant to be used as a bottom watering tray to catch the drips off a tray with individual cells, but with hardy marigold seeds I just use what I have on hand.
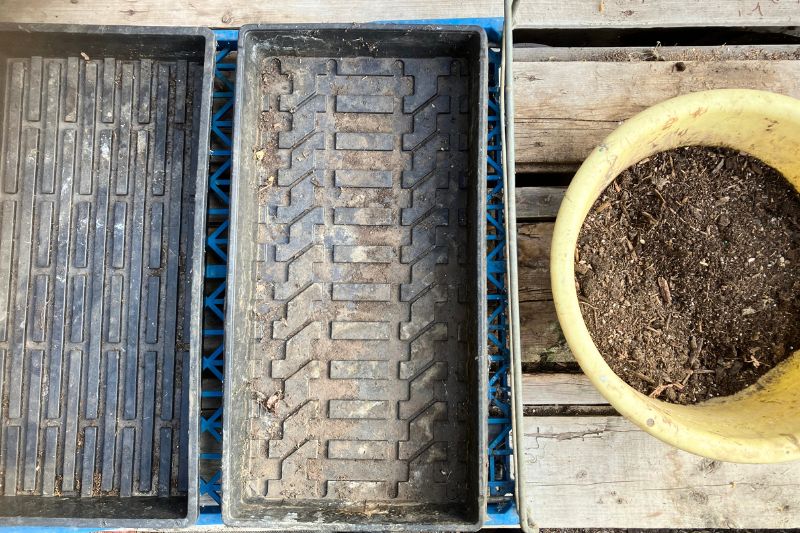
Step 2 – Fill your bowl/bucket halfway full with potting soil and then add a little water to pre-hydrate it. Work the soil with your hands to evenly distribute the moisture. You want the soil to be damp and fluffy, not wet and clumpy.
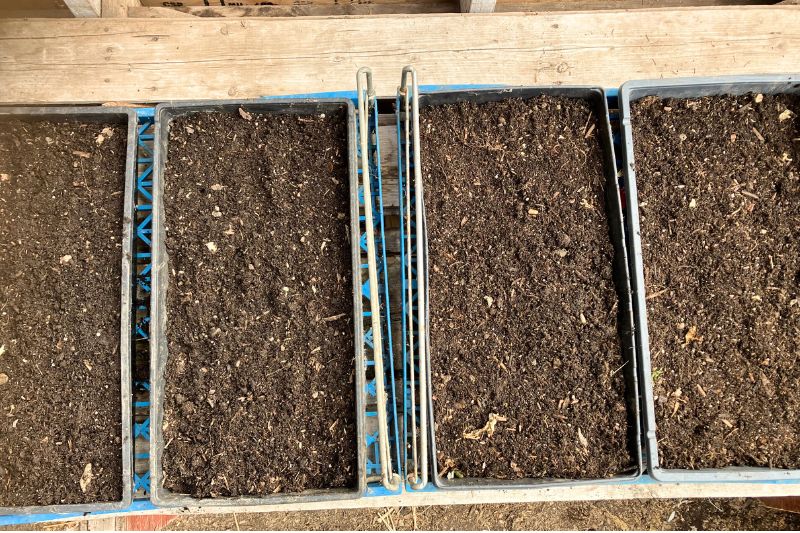
Step #3 – Fill your seed trays 3/4 full with damp potting soil. The number of seed trays you plant depends on the length of your border. I used 4 seed trays for a X meter (X foot) border. You could also seed directly into the soil of your border, but I like how using seed trays gives me more control over seedling placement to create a full, even border.
Step #4 – Scatter marigold seeds across the seed trays. Sprinkle more potting soil on top to lightly cover.
Step #5 – Continue to water trays. Once seedlings have grown at least their first true set of leaves, pick a day with nice weather to transplant outside. Rake your border area first, removing any sticks and stones.
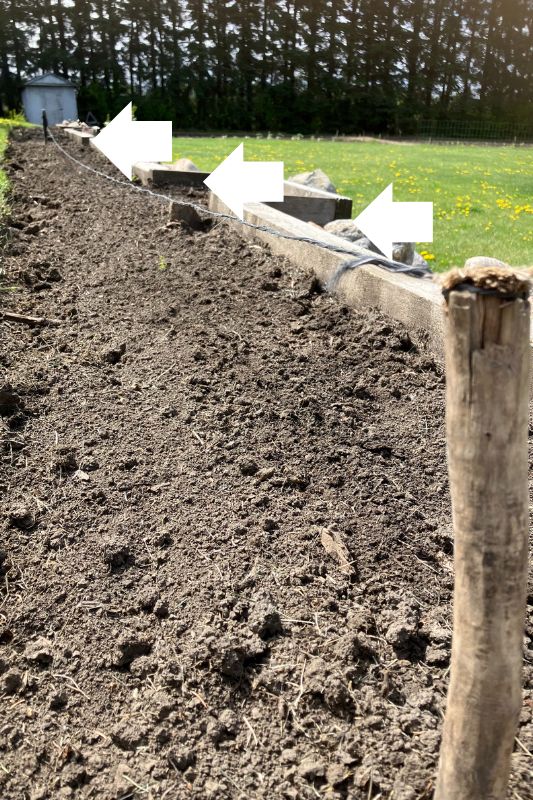
Step #6 – To create a guide for even planting, attach a long string to two stakes. Hammer in one stake at the end of your border, then hammer in the other stake at the far end so that the string in pulled taut between the two stakes. (This step is optional, but helps to creates a neat, even border.)
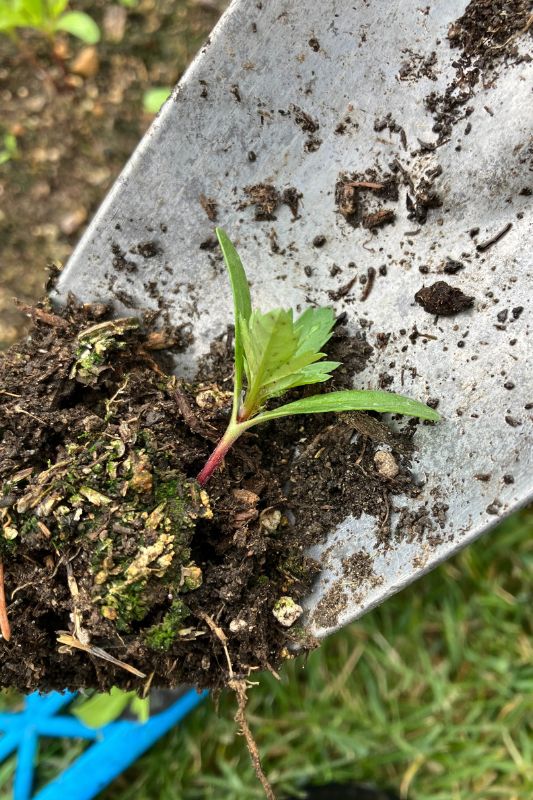
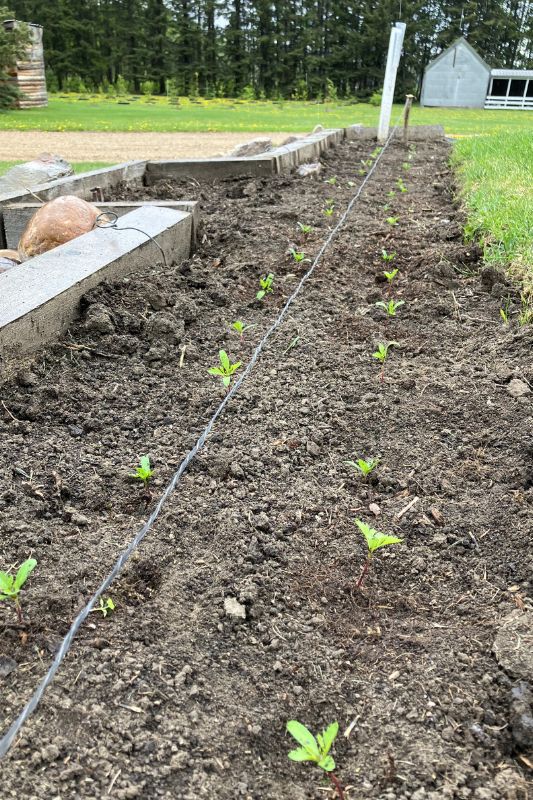
Step #7 – With a garden trowel dig shallow 3-4 centimeter (a generous 1 inch) deep holes below and above the guide string. I like to stagger them in a zig-zag pattern. Using your garden trowel, gently lift each marigold seedling one at a time and transplant into the hole. Press soil down firmly around each seedling to secure.
Step #8 – Water your seedlings well, and continue to water especially during the early days as they are establishing their roots.
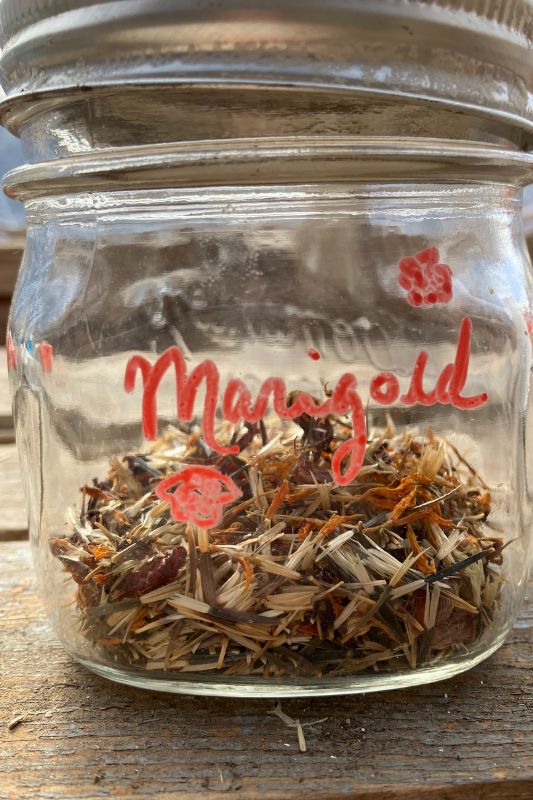
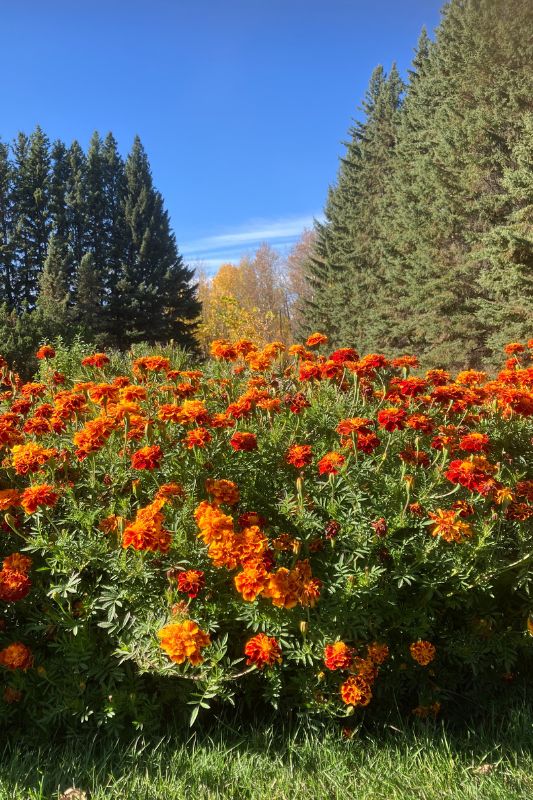
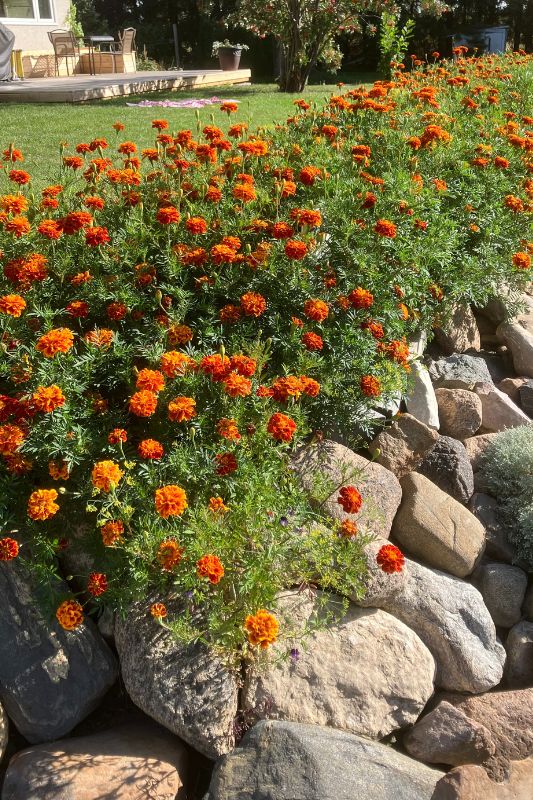
Later in the summer you will be rewarded with a vivid border of oranges and red. These marigolds get so bushy they crowd out other weeds. Keep de-heading and you will find this border lasts well into fall. And don’t forget to save some seeds for next year!
Vibrant DIY Marigold Border

Materials
- Marigold seed
- Potting soil
- Seed trays
Tools
- Garden trowel
- Watering can
- Garden gloves
- 2 stakes and a string
Instructions
- Start your marigold seeds 3-4 weeks before you want to plant the seedlings in the ground.
- Fill seed trays 3/4 full with damp potting soil. The number of seed trays you plant depends on the length of your border. I used 4 seed trays for a X meter (X foot) border.
- Scatter marigold seeds across the seed trays. Sprinkle more potting soil on top to lightly cover.
- Continue to water trays.
- Once seedlings have grown at least their first true set of leaves pick a day with nice weather to transplant outside.
- Rake your border area first, removing any sticks and stones.
- To create a guide for even planting, attach a long string to two stakes. Hammer in one stake at the end of your border. Unspool the string along the length of the border and hammer in the other stake at the far end so that the string in pulled taut between the two stakes. See pictures above. (Optional, but creates a nice even border.)
- With a garden trowel dig shallow 3-4 centimeter (a generous 1 inch) deep holes below and above the guide string. Or freestyle your holes wherever you'd like plants without using a guide string.
- Using your garden trowel again, gently lift each marigold seedling one at a time and transplant into the hole. Press soil down firmly around each seedling to secure.
- Water in your seedlings, and continue to water especially during the early days as they establish roots.
Leave a Reply